The subject of timber frame repairs is fraught with people’s different ideas. It is populated by some very weird materials too – most of them modern and anything but breathable. If we have to summarise the whole process of timber frame conservation, it is ‘minimum intervention, breathability, and traditional materials’
Timber framed houses have stood for hundreds of years with little appreciable damage. There’s more deterioration taken place in the last 50 years since the advent of cement and gypsum than in the previous 500 years.
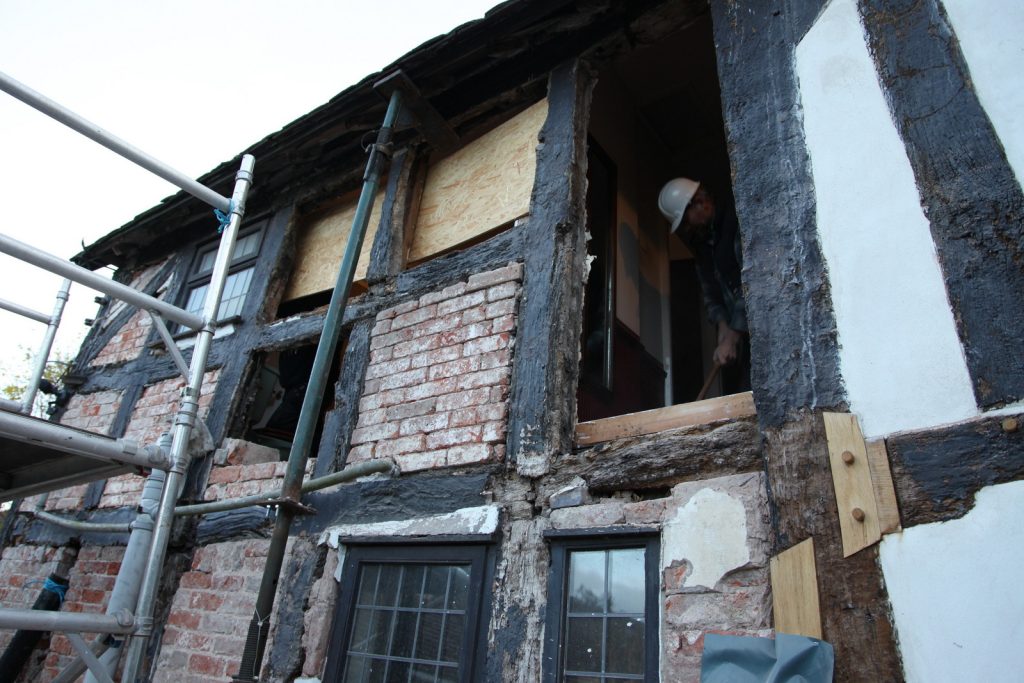
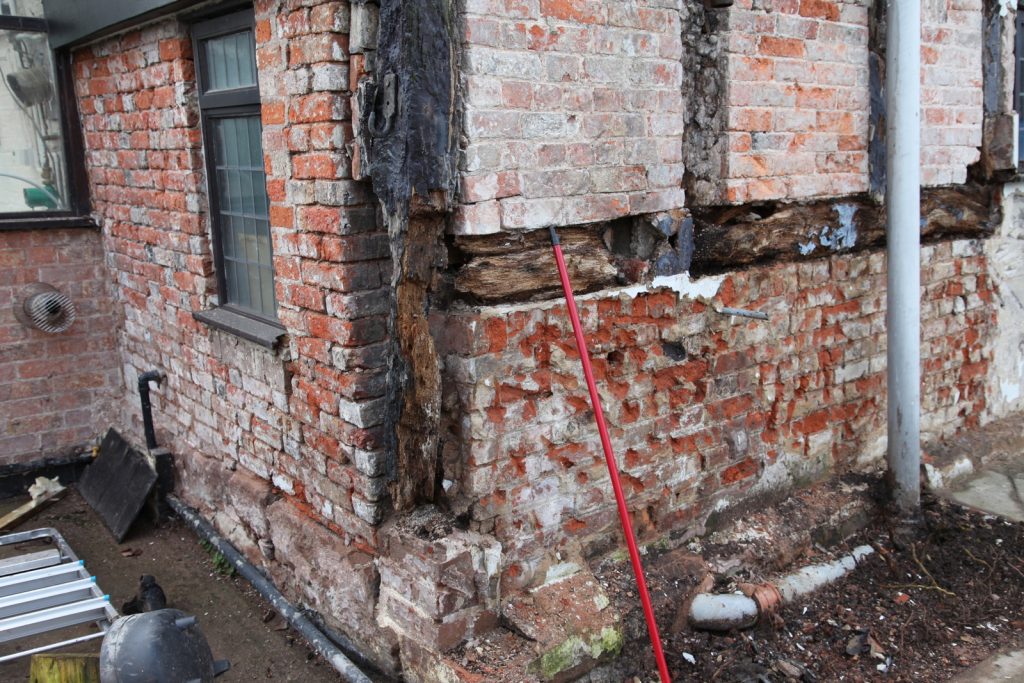
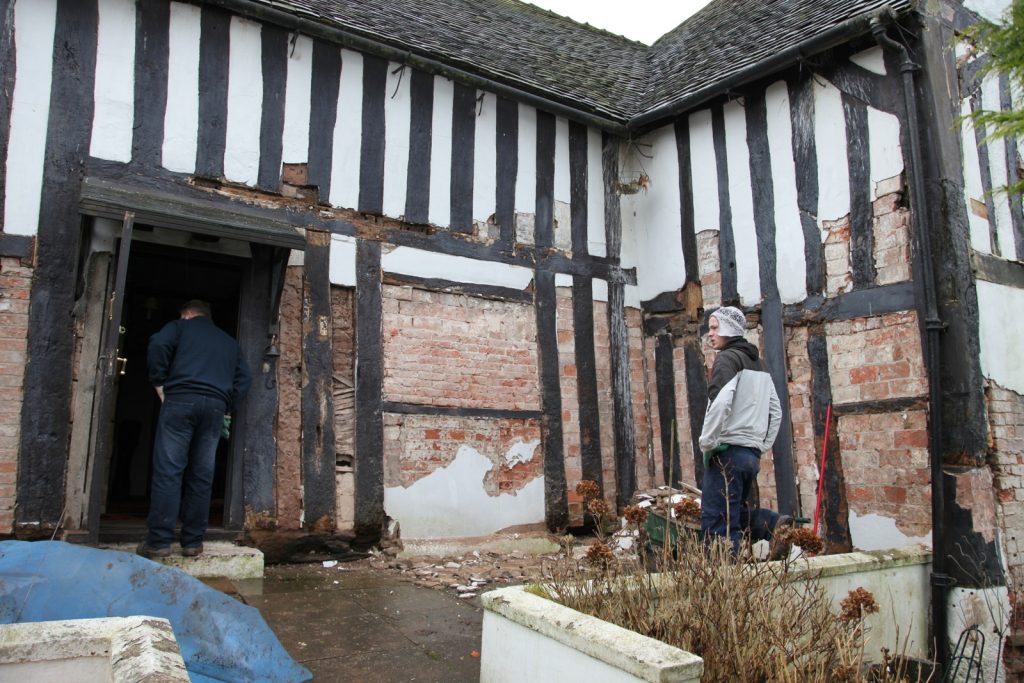
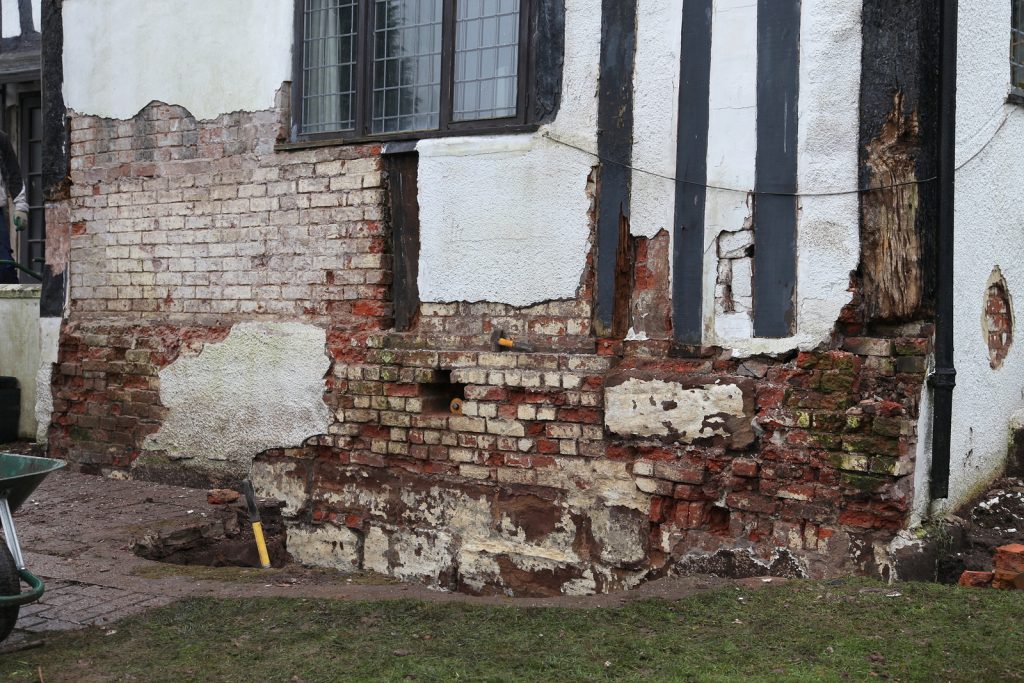
One of the biggest issues from our viewpoint is the infills. People just rip out wattle and daub, and stick a load of bricks in there. Problem is, bricks weigh a heck of a lot more than a daub panel, and it pulls the entire frame apart. They also end up lain in cement. Cement traps moisture, causes rot (sometimes within months) and the frame starts to disintegrate. Paint, tar, preservative – all cause major problems and rot to the frame. In recent times, architects have fiddled around with things like compriband – a horrible sticky foam tape that’s supposed to be waterproof. Trouble is, it goes hard, and crumbles – and the leaks start. There are much better materials for infill panels – and all natural sealants for around the edge – oakum caulking, which Pete sells as ‘caulking kits’.
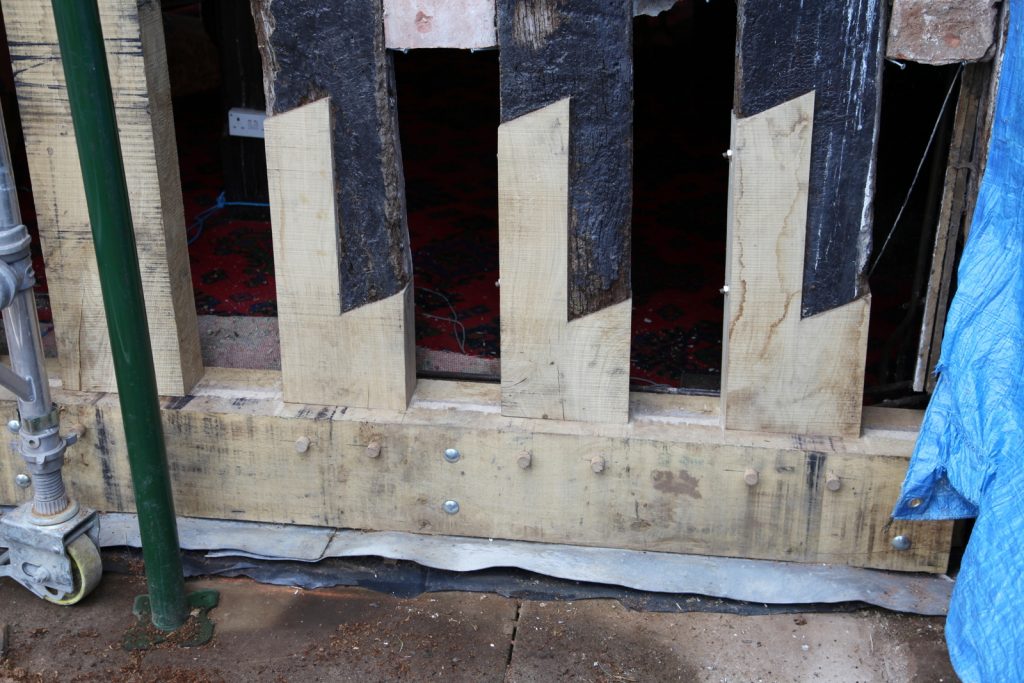
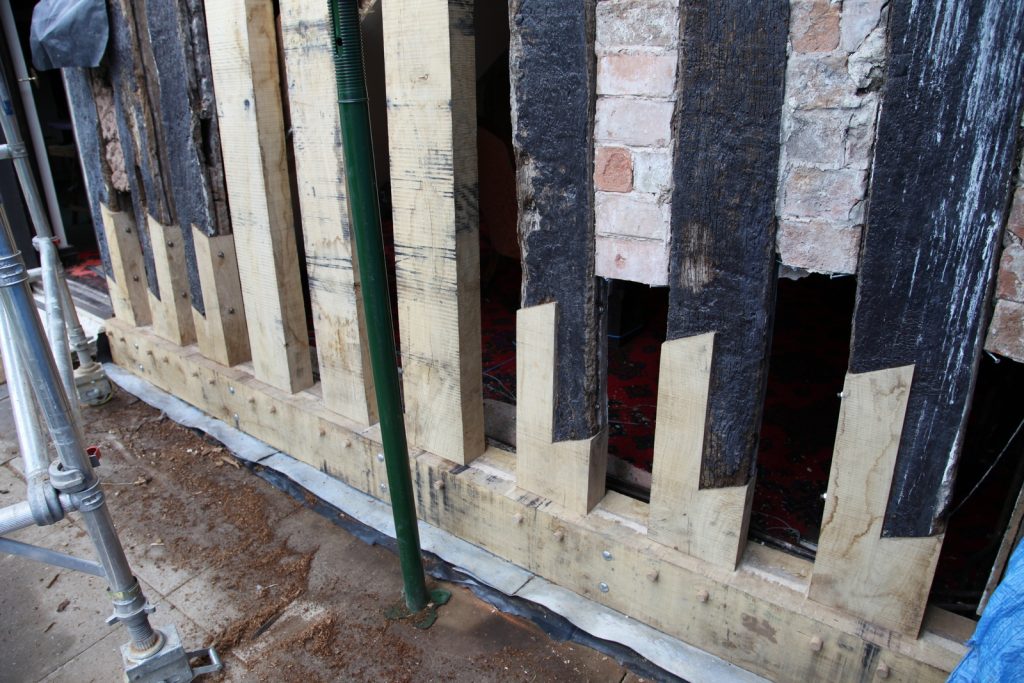
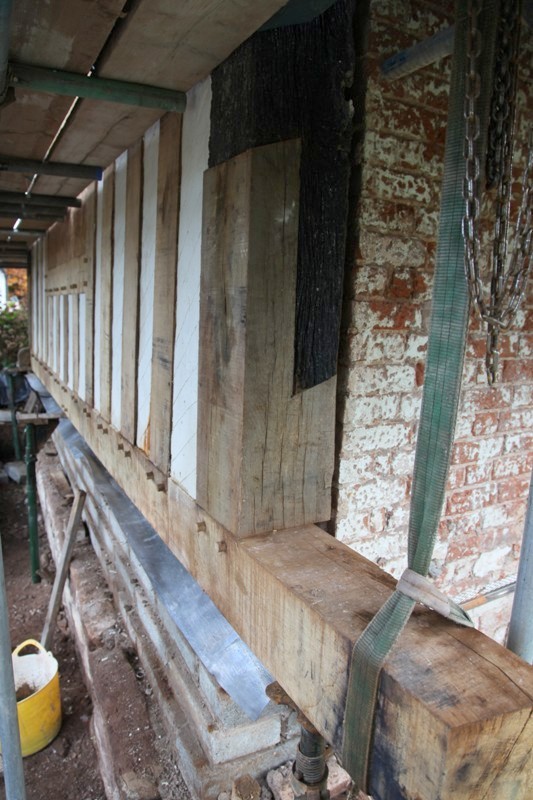
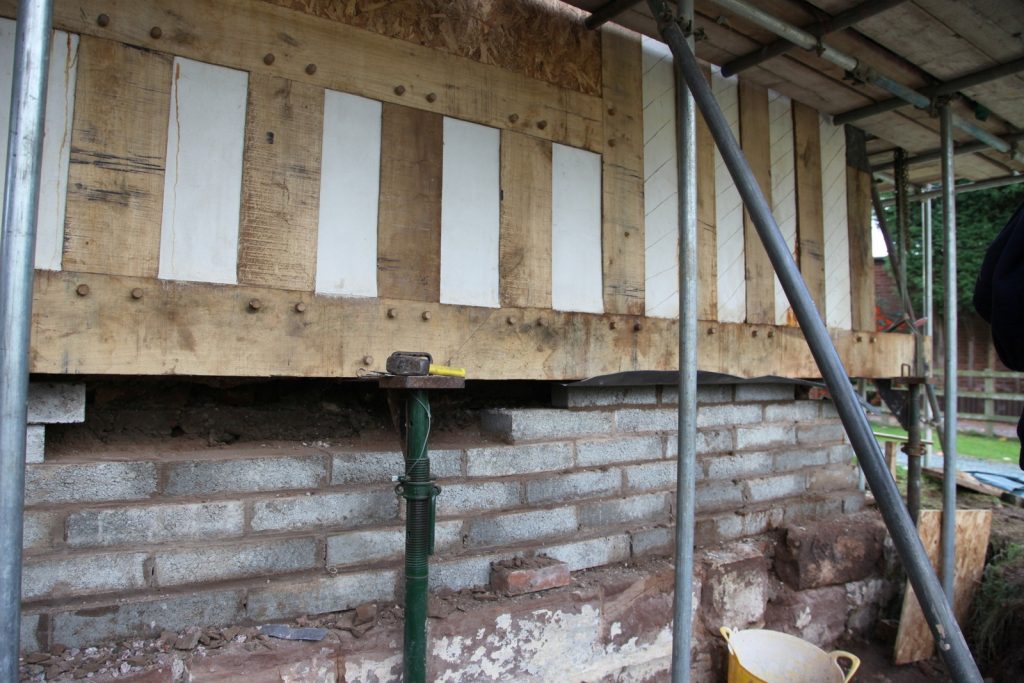
Timber frame repairs need to be done by people who know what they are doing. You cannot just cut a joint square and expect it to drain. It won’t. Joints need to be free to drain – the frame needs to be able to flex and move – and repairs do NOT involve complete removal of every bit of old timber, just because it is rotted half way through. We always specify the ‘minimum intervention’ approach used by Historic England – you can retain at least 50% of the old timber, and plate the beam – so at least the internal appearance doesn’t change – even if the outside has a new facing plate. Joints need to be properly specified – you can’t stick them together with bits of angle iron and a few screws (and how many times do we see THAT!)
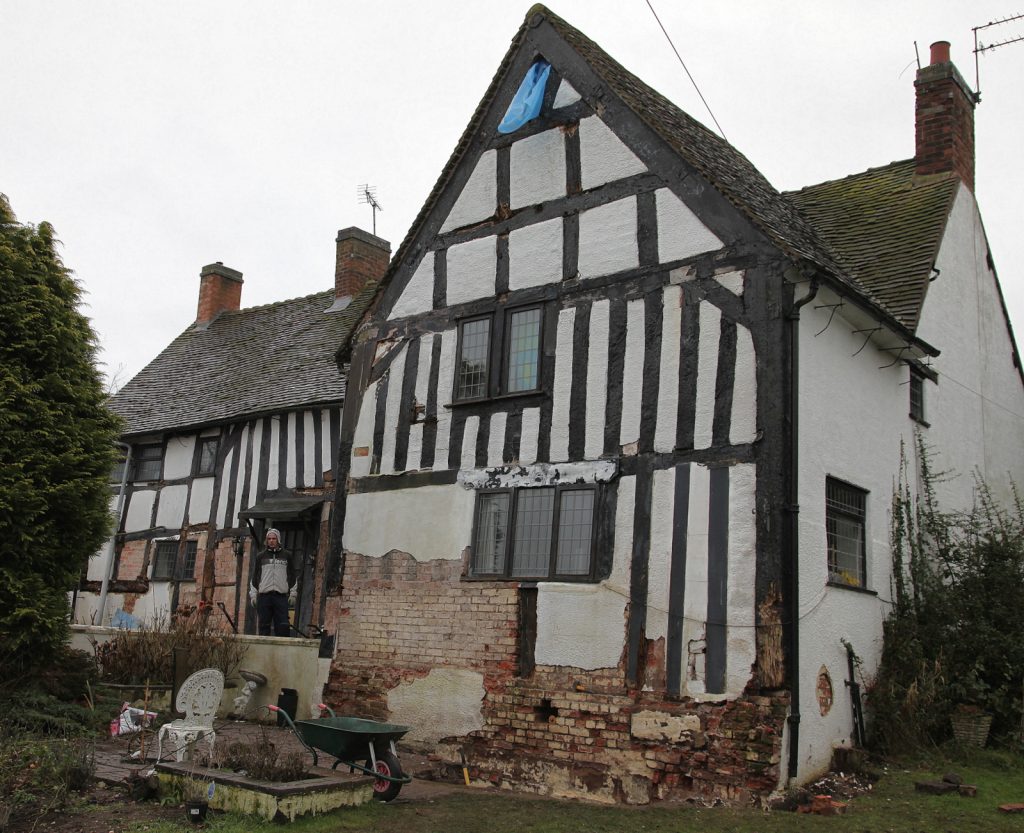
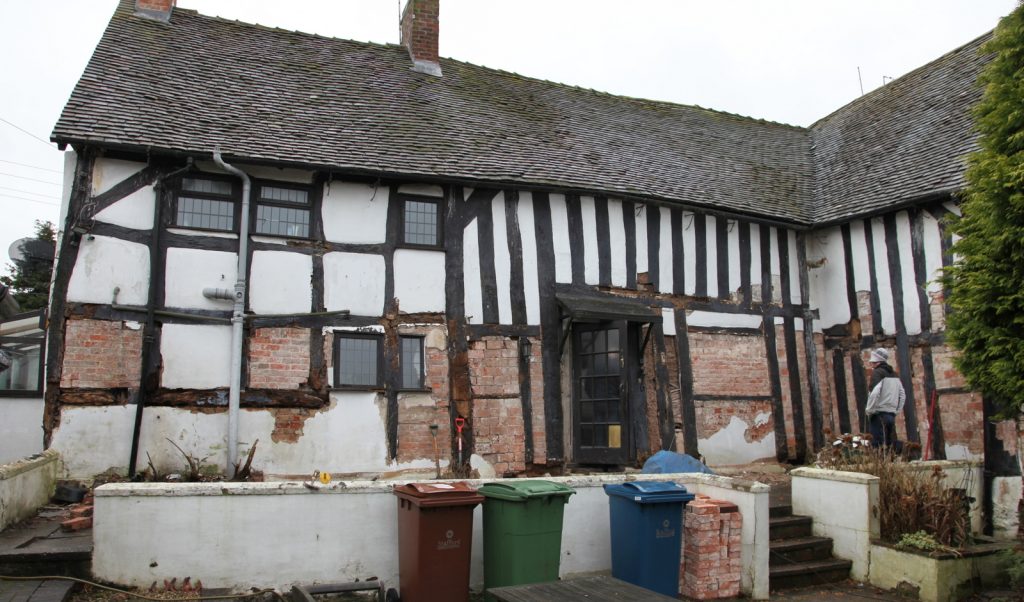
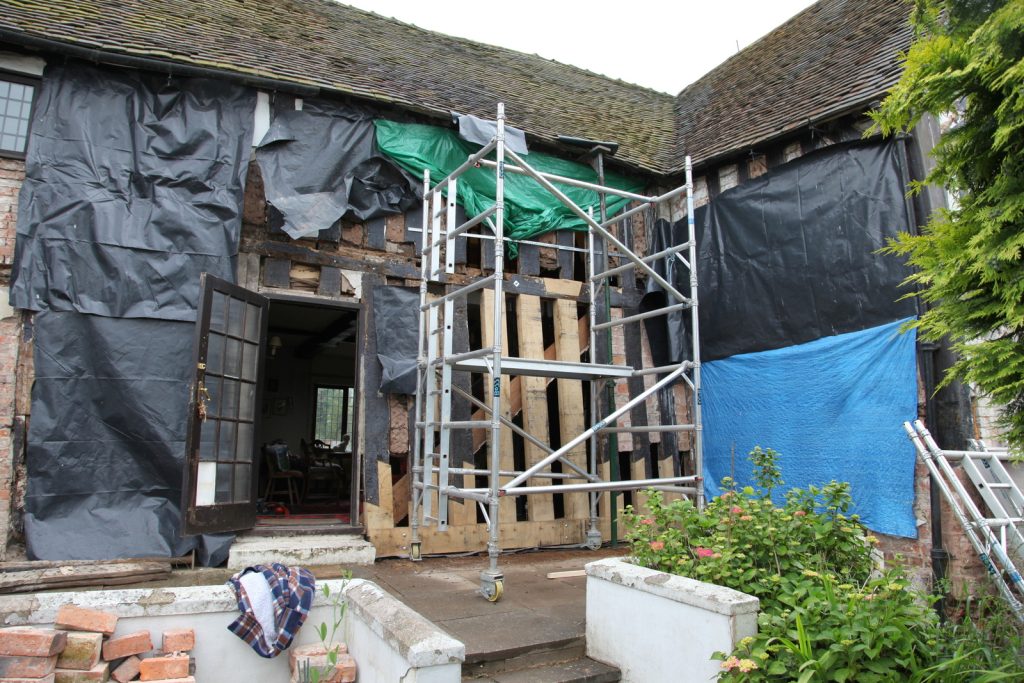
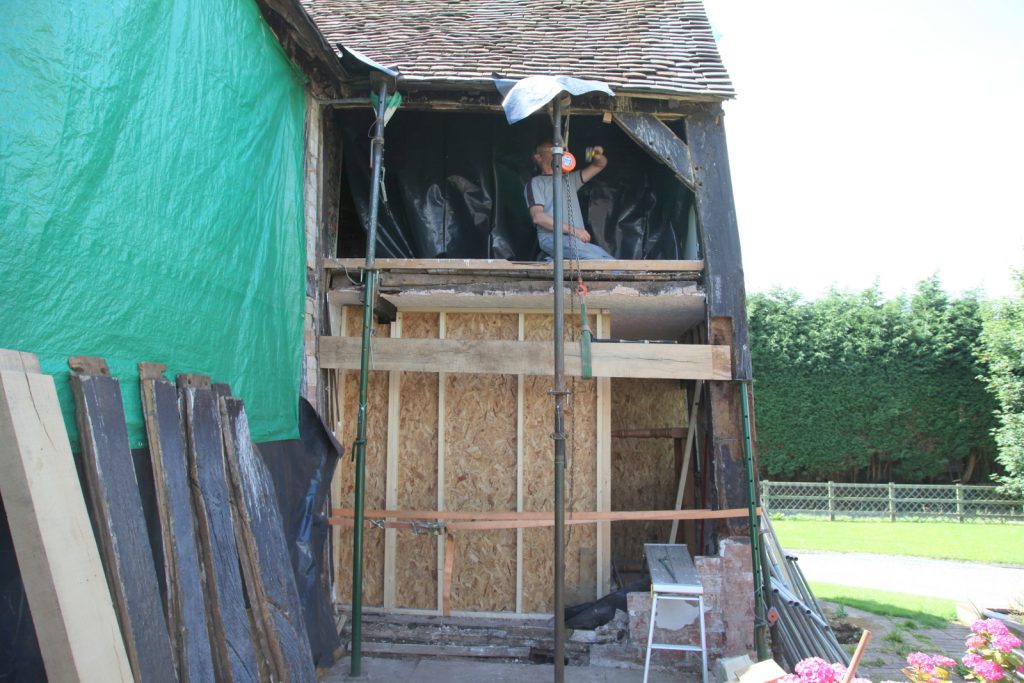
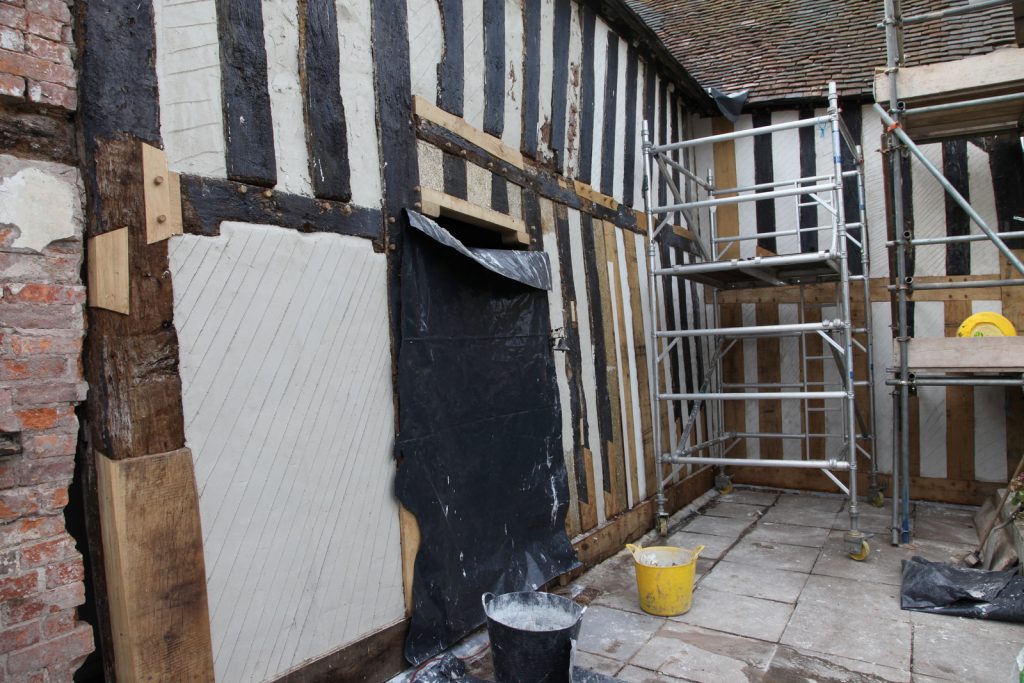
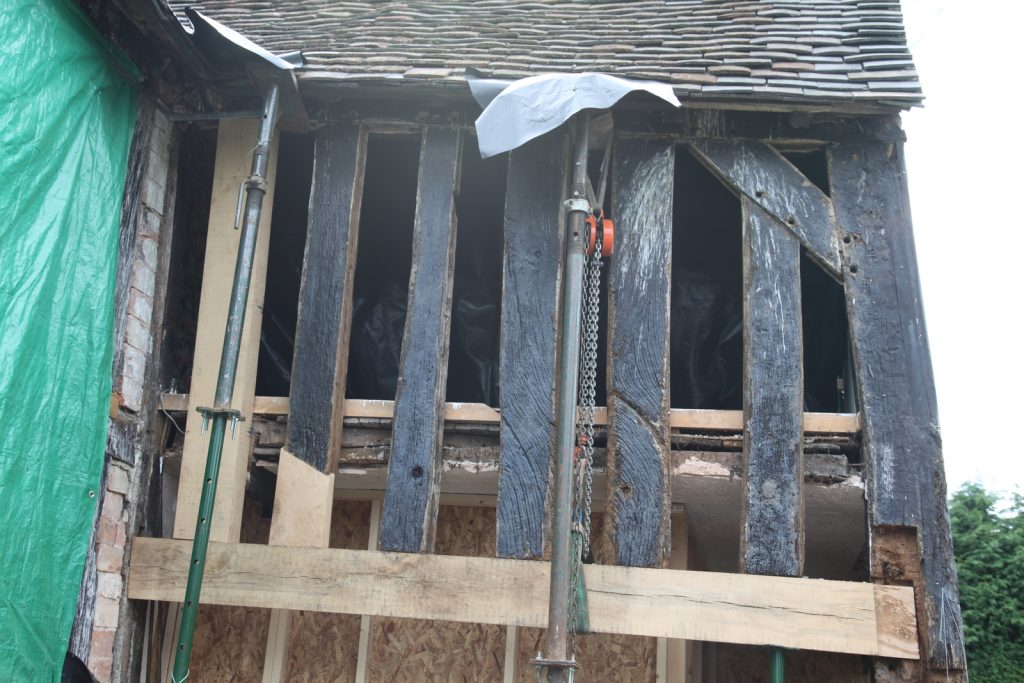
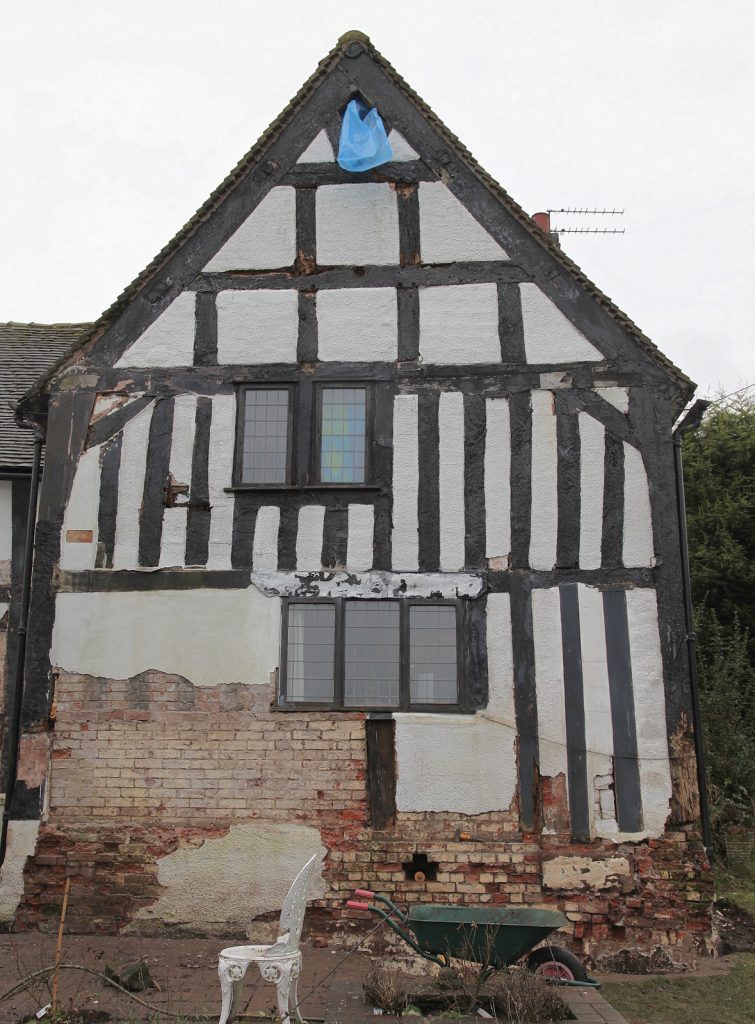
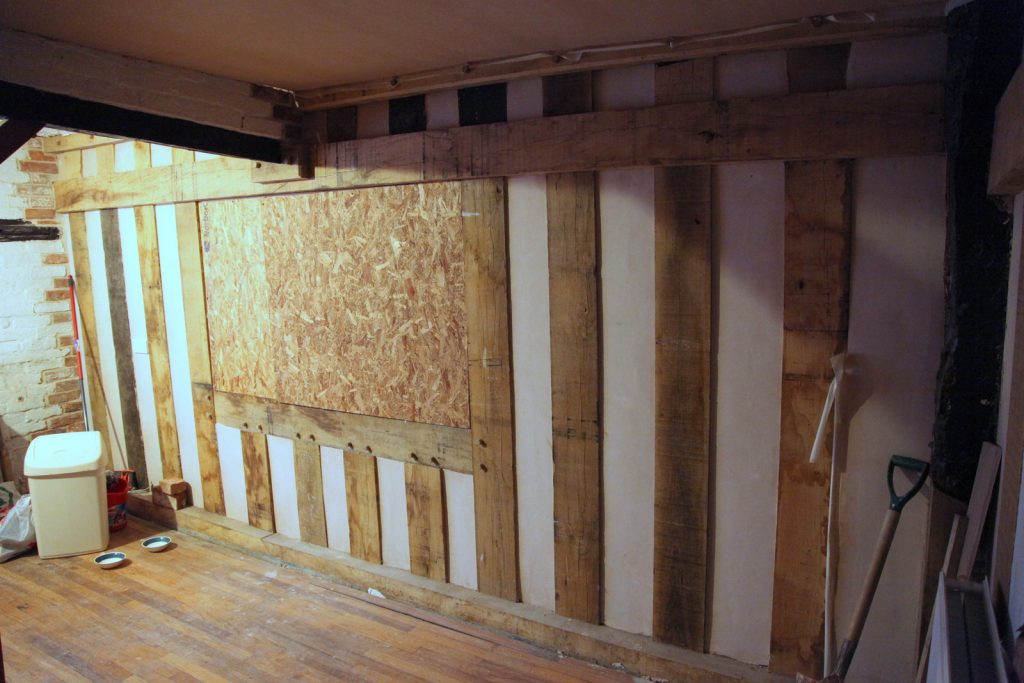
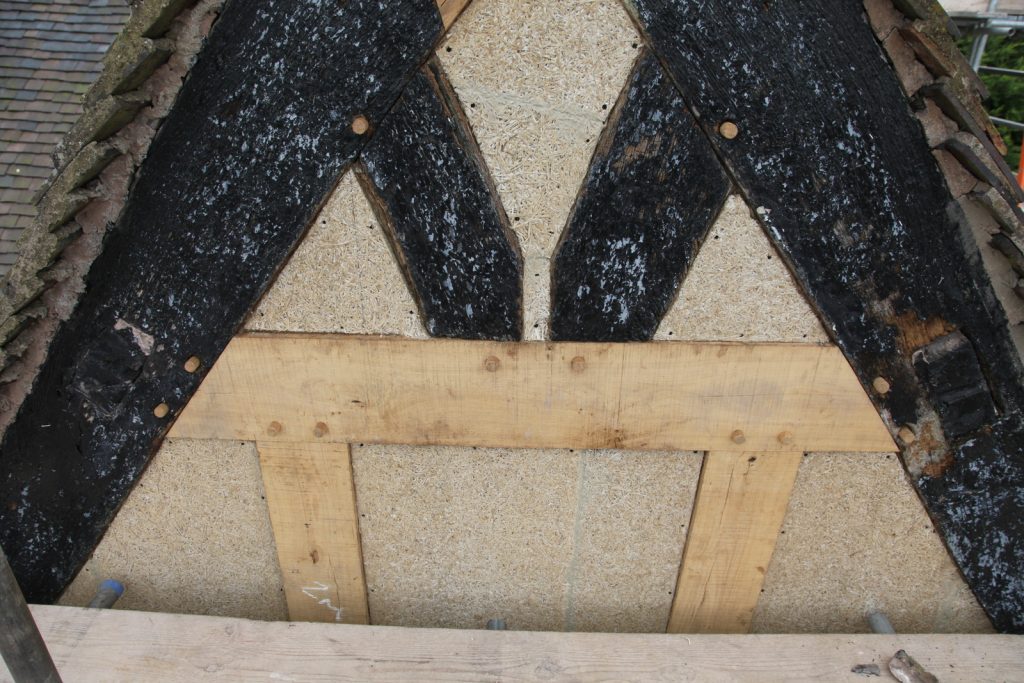
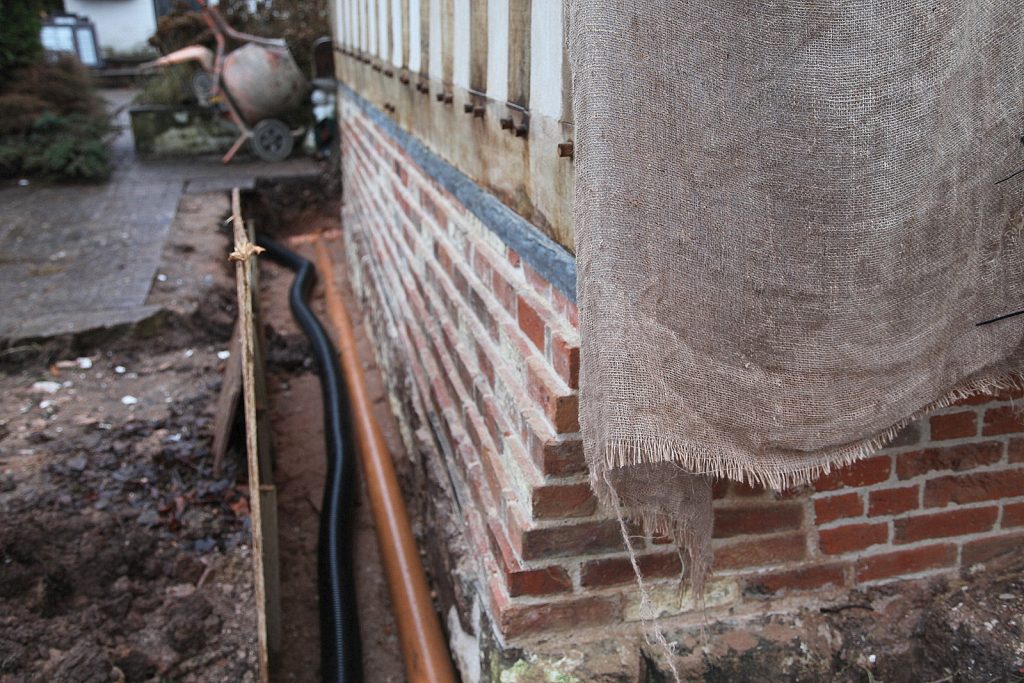
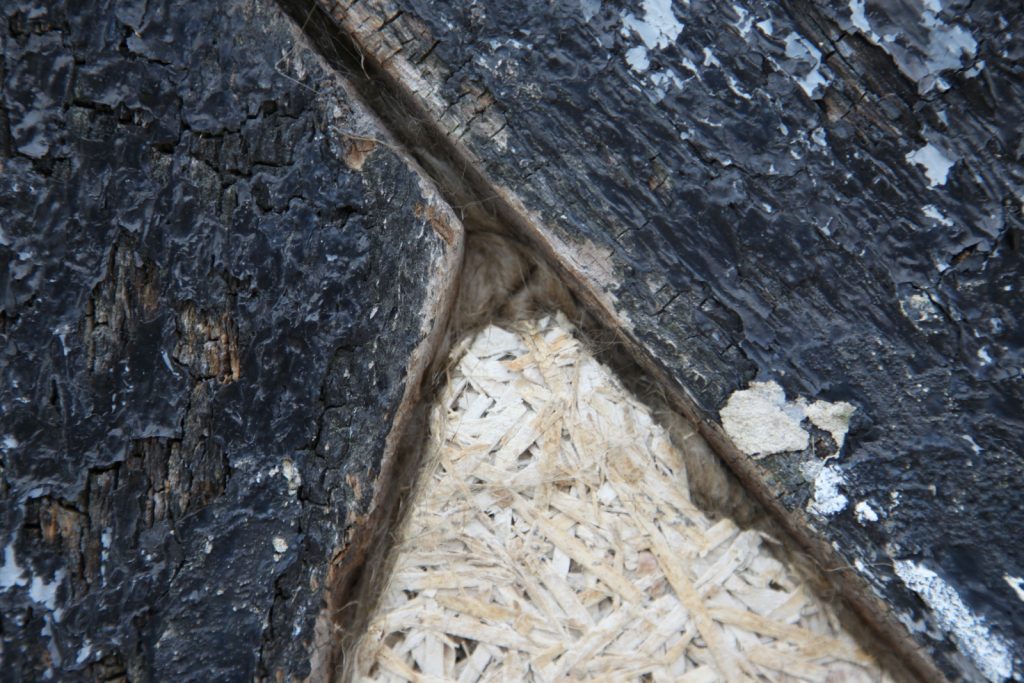
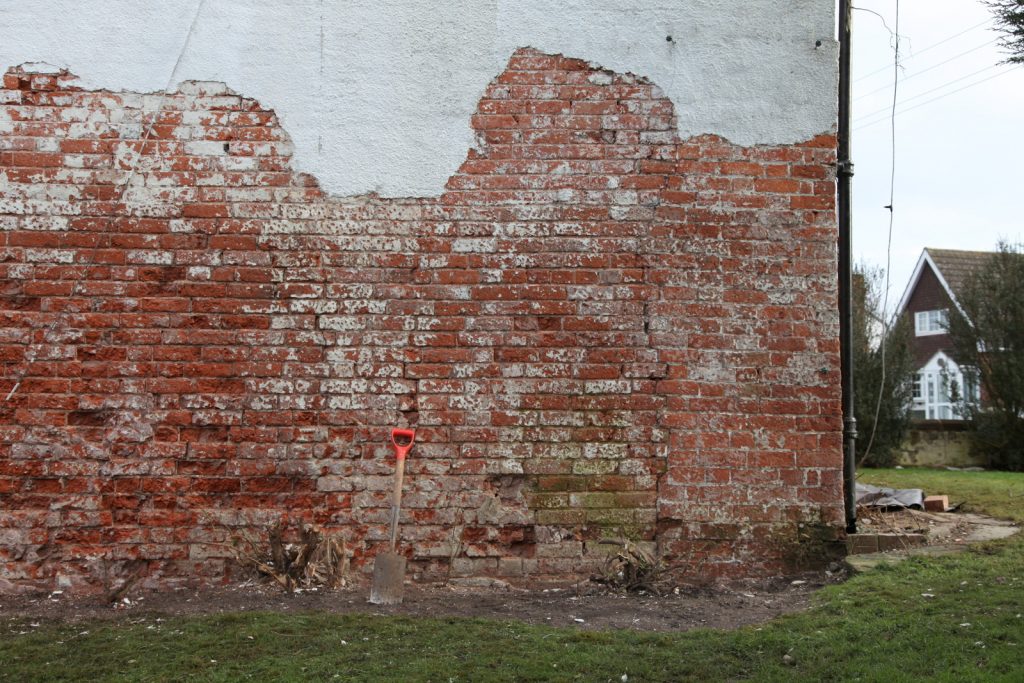
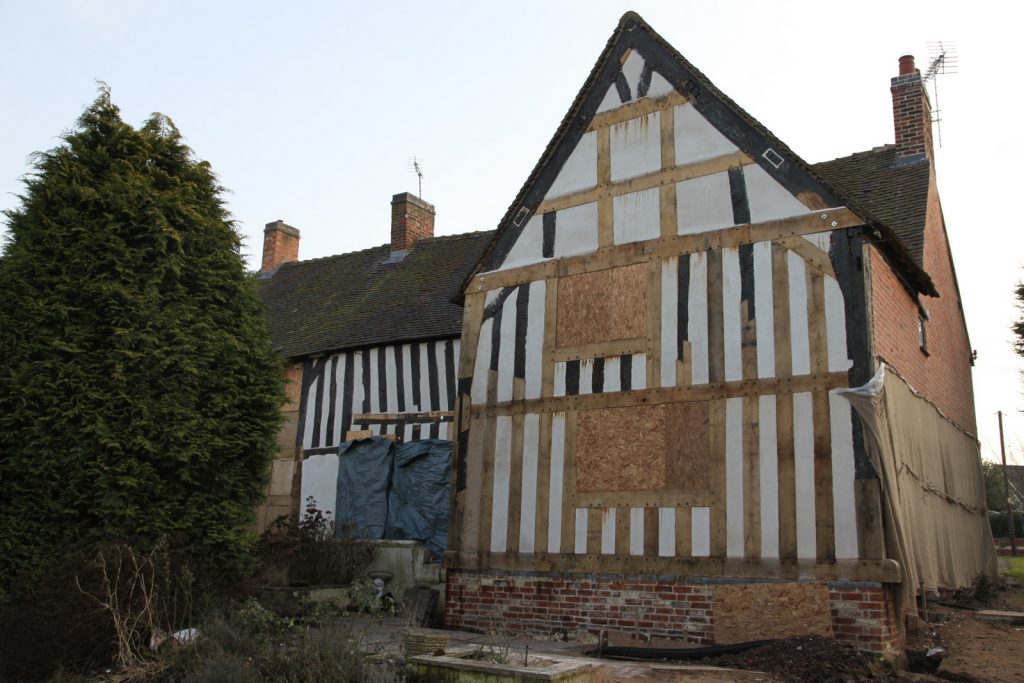
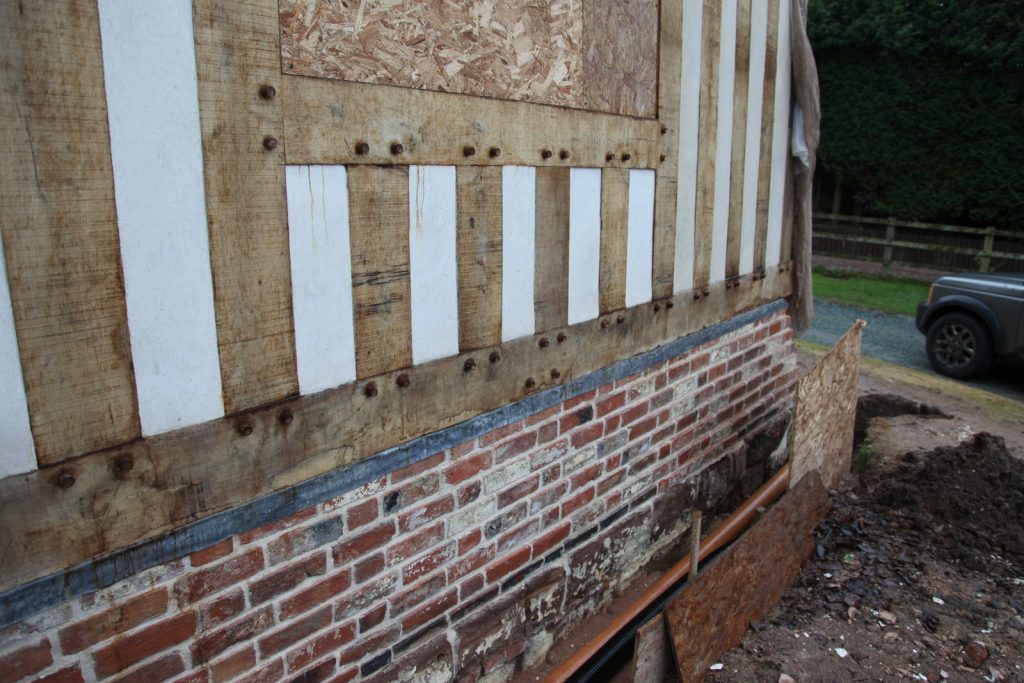
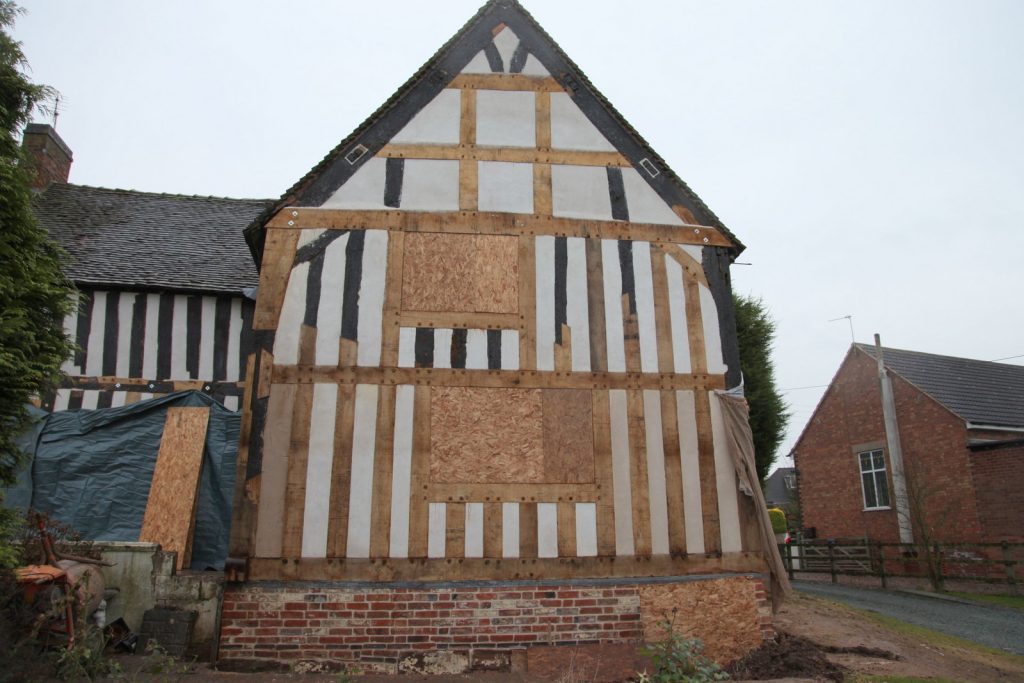
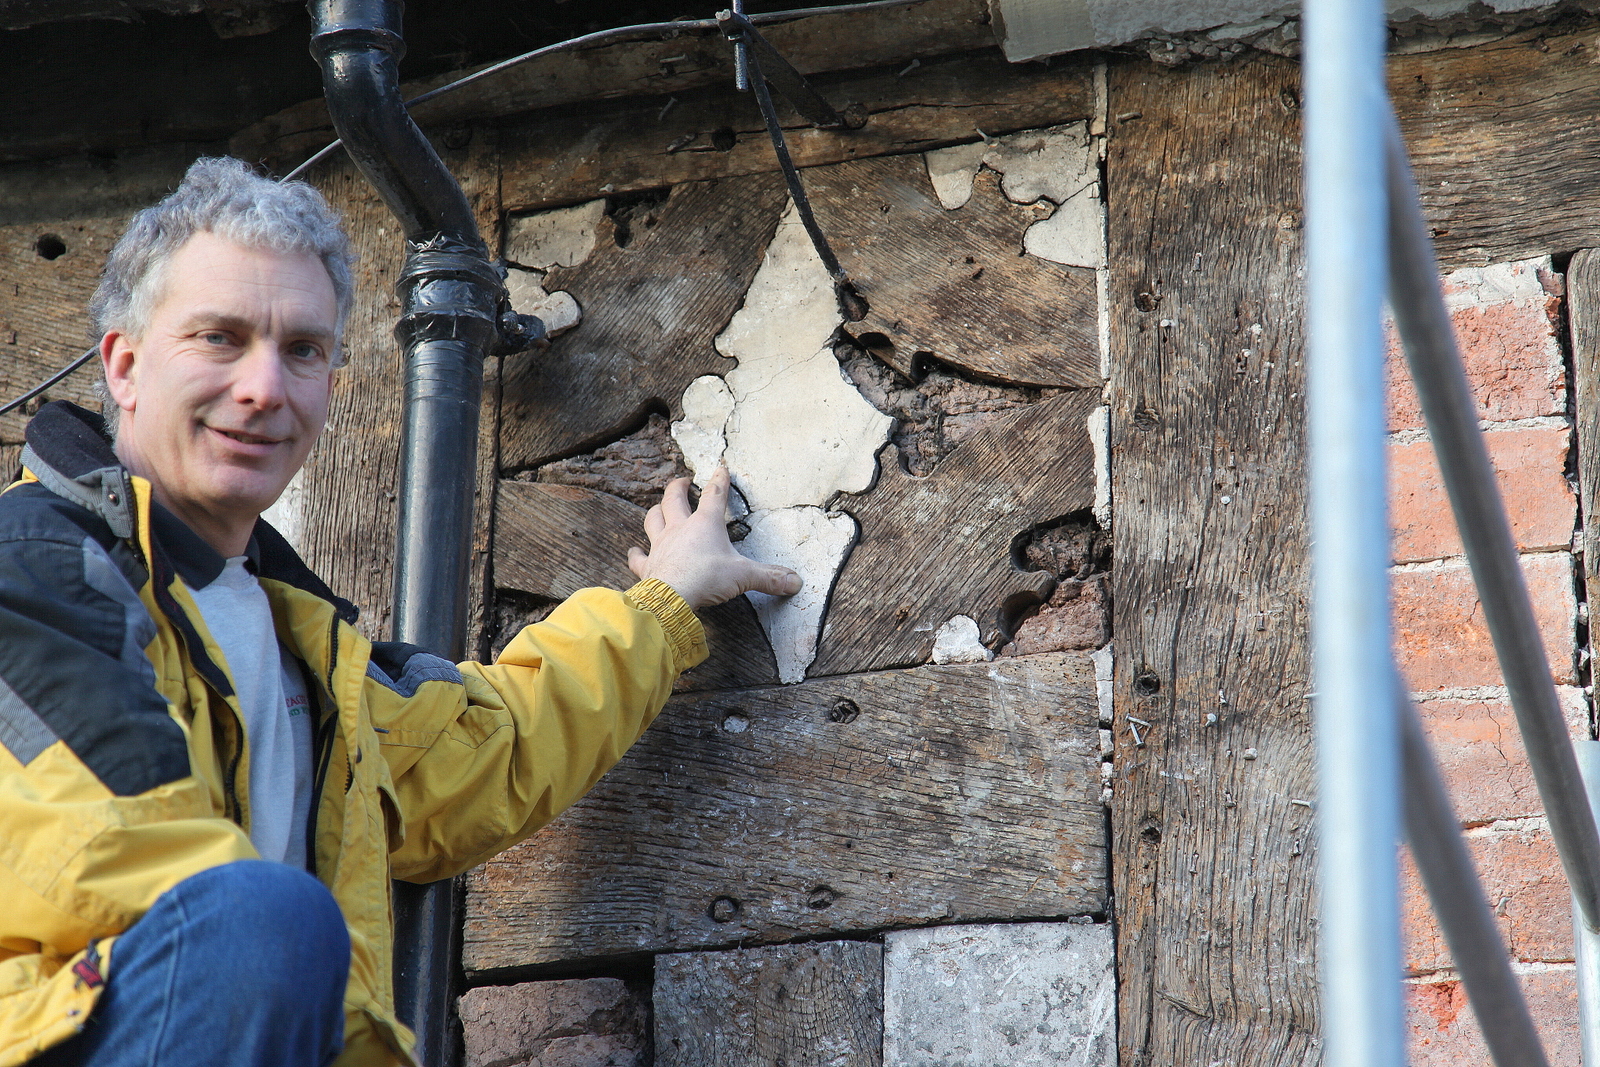
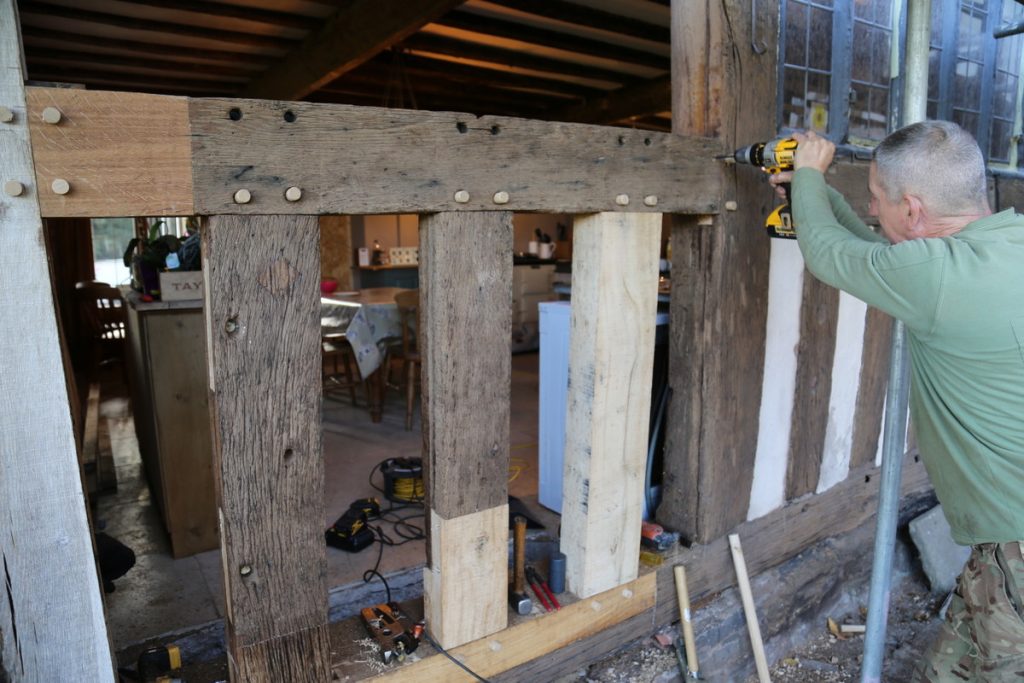
The pictures on this page are of an actual framing job that took about a year to complete. Total cost when it was done, was around 120,000. It’s probably doubled the value of the property though. This was a very high class building – close spaced framing, jettied front elevation with intricate carved features, L shaped, with a huge smoke hood which is still intact within the roof space. When originally surveyed, I really didn’t know what to say – I knew it was going to be expensive and a long job – but I had no idea of the history that we would uncover. It became a voyage of discovery – sometimes stressful – it always is when you can’t accurately predict costs – every piece of timber we touched was covered with cement, and fell to bits. We worked very closely with the Conservation Officer, who dropped in regularly to inspect progress. There were a few days when she was literally speechless – patient and forgiving are words that come to mind. It is jobs like this where a very close working relationship between the Conservation Officer, Client and Project Manager is essential. We resorted to a bottle of wine on occasions – but communication won the day, and with a lot of help from the Conservation Officer, we managed to save a substantial amount of the old timber, and return the frame to a structurally sound condition. In this case, old timbers were left to slowly lose their black paint to weathering, and new timber left to weather to a dark silver grey colour. Infill panels were woodwool board, lime rendered externally, and lime plastered internally. Oakum caulking is hammered into the edges of the boards to seal them. The first year after completion the frame still leaked. After leaving it to do its shrinking and moving, the oakum was hammered tight again, and the seal started to work. It takes about 2 or 3 years for all the seals to ‘take’ and then the frame settles down for the next 50 or 100 years of its life.
We don’t treat timber. None of this oak was treated in any way. It does not require treating and hopefully never will. Some people try to put linseed oil on the timber – it’s ok – but darkens it terribly – and I just don’t think it looks natural. It achieves nothing, costs money and time, and you are better off sitting with a pint of beer admiring the frame instead!
We will add some pages and videos of framing repairs, joints and so on as the opportunity arises.