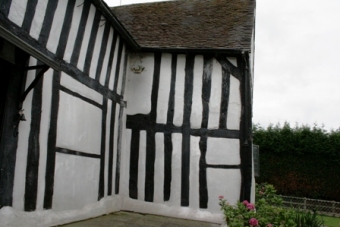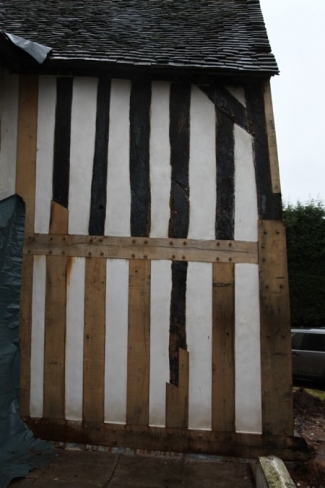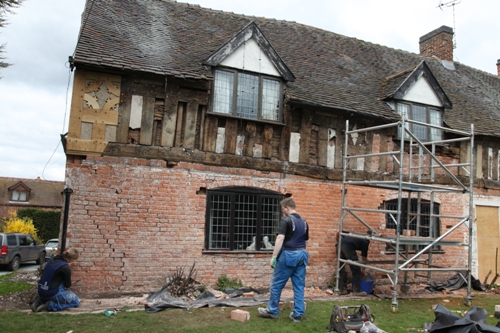
This lovely oak timber framed farmhouse has suffered terribly over the years from poor maintenance. Luckily, the new owners have seen the potential, and with the help of the local Conservation Officer, we’ve commenced a fairly ambitious program of repairs. Various financial approaches have been looked at, including a series of staged smaller projects,but in the end, it worked out far cheaper to tackle the whole restoration in one hit.
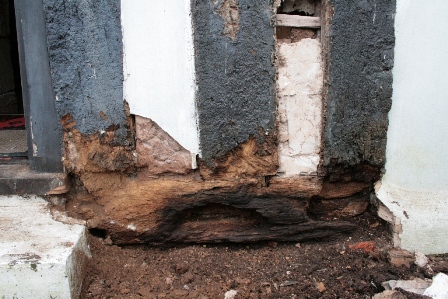
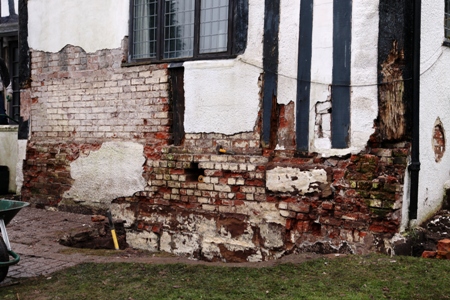
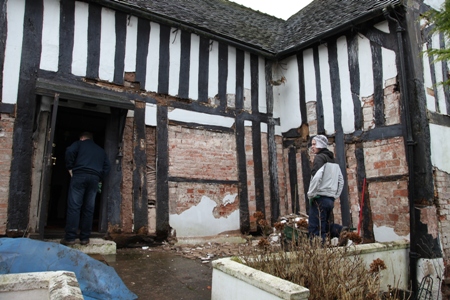
The photos below show the place before we started to unlock the frame – taking cement off, and probing into the rot beneath.. water drips into the house from many parts of the frame at the moment, so its fairly urgent that repairs start soon. Listed Building Consent is required, given the size of the project – two of the frames require almost total replacement, and other fairly major internal problems have been found. The good thing about it all is that despite the amount of work, its all relatively simple to sort out, and there’s plenty of help available from the local Conservation Department.
These are a really useful addition to any library – if you own a timber framed building. Brunskill is the leading expert on these things, and really knows his stuff…
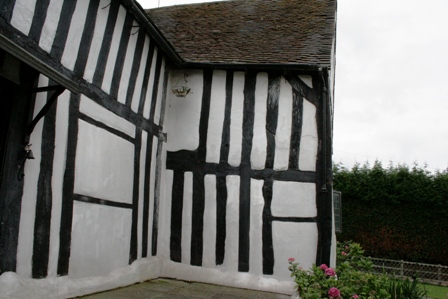
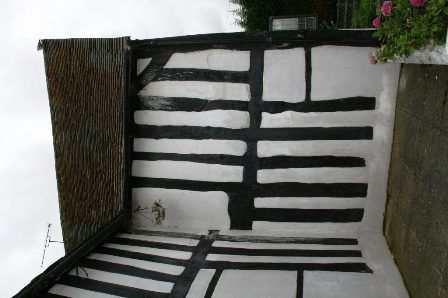
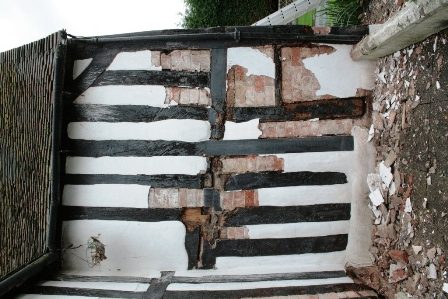
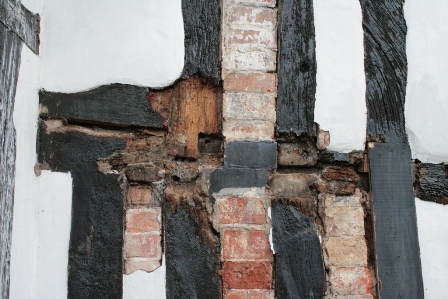
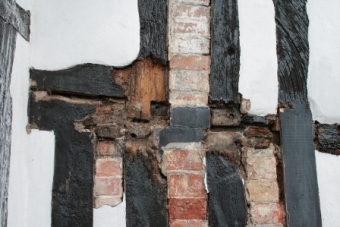
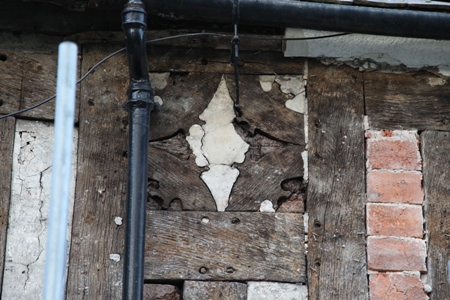
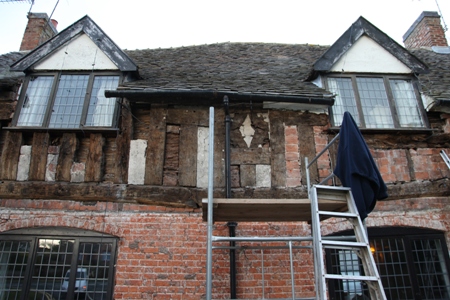
In the photos above, you can clearly see that the central tie beam doesnt exist – its just painted onto the agglomeration of bricks, tiles, bits of plywood and hardboard that are stuffed into the hole and cemented over. The actual timber uprights have nothing holding them together. The concrete sill along the base is being stripped out, and the original sill beam being exposed. Frames rarely get into as bad a state as this one – it’s typical of farmers back in the sixties, who just used to keep bodging and fixing..!
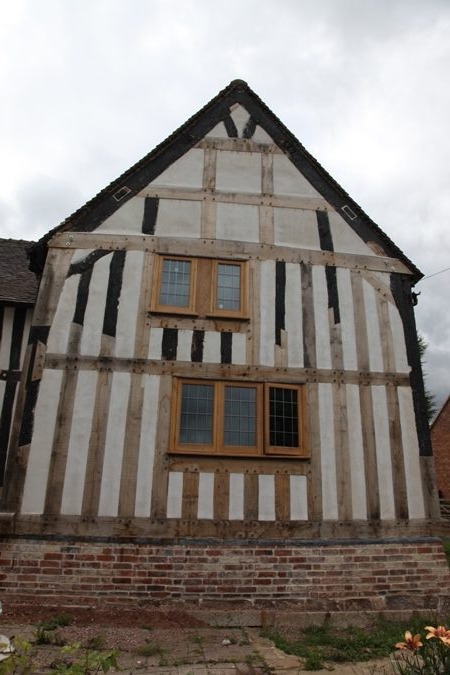
Repaired medieval oak frame with lime rendered infill panels
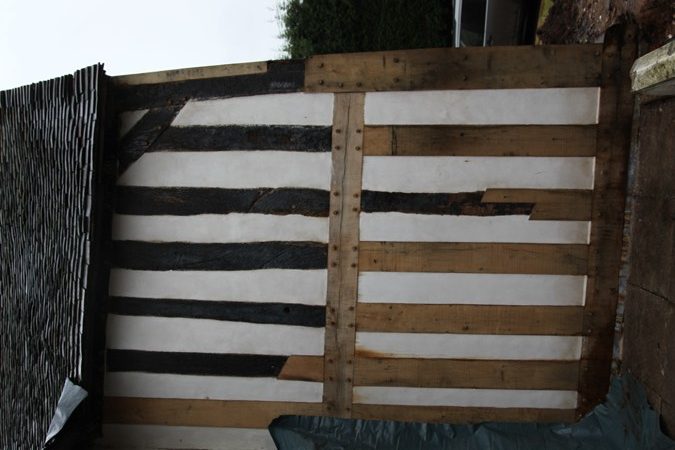
The first Week…
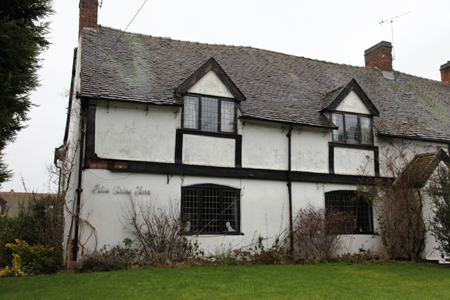
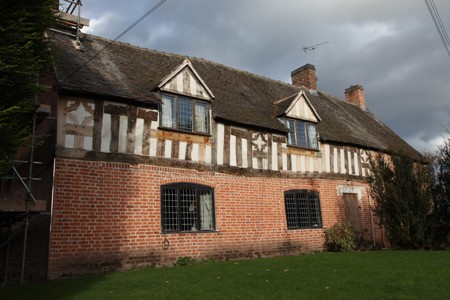
This was an exciting week, because we have already started to unravel some of the history of the place, and show that it is a far more significant building than was perhaps originally thought.. these photos show how 1940 / 50’s cladding has covered very significant features, which can be restored to their former appearance.
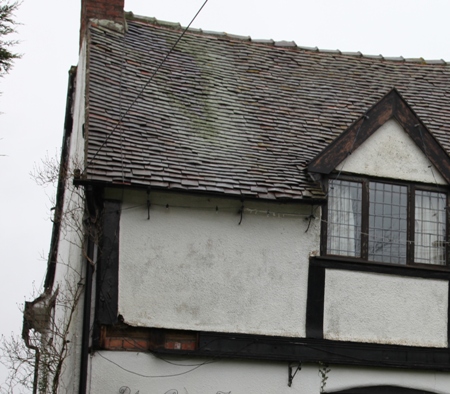
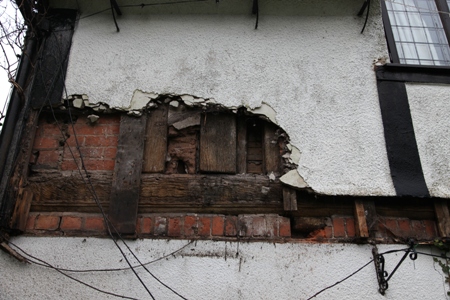
Week 2 …
Well – it was spectacular! Its not often we uncover an entire Medieval jettied frontage to a building – this was a high class property, and as the evidence unfolds, we are revealing more of what was undoubtedly quite an important building for the area.
March – and work slowly gathers pace…

The main front gable was in a dreadful state…
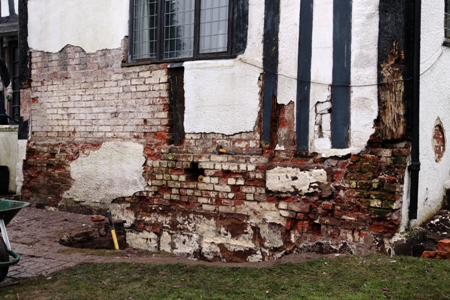
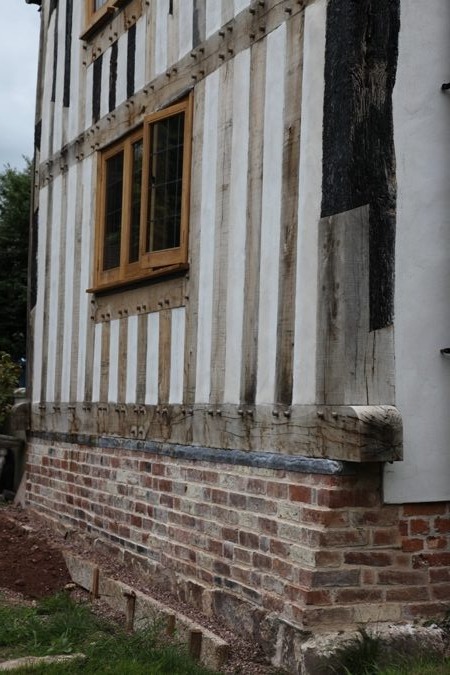
Do’s and Don’ts of timber framed houses…
Don’ts:
- Dont’ use any cement!
- Don’t use modern silicone sealants!
- Don’t paint the timber with anything!
- Dont put anything impermeable against the timber
- Dont let plants grow near the walls
Do:
- Caulk joints with marine caulking – hemp/stockholm tar
- Use lime render on the panels
- Check all your gutters and downpipes work
- Keep the walls clear of vegetation
The only way to ensure that an oak frame has the best chance of survival is to get EVERYTHING off the oak – it should be cleaned down to bare wood, and allowed to weather to the old silver colour of ancient oak. The infill panels should be able to breathe, they should be lightweight construction (which can include modern materials) with lime render faces, and breathable caulking around the edges to allow for movement of the frame, and prevent water from penetrating around the edges of the panels. NEVER use modern materials which are impervious to seal anything – the frame should be open, allowed to flex and move, clean of paints and varnishes, and only use lime for panel finishes.
Oak frame repairs should only be carried out by people who know what they are doing – always ask to see examples and talk to the people who own the house – it might look pretty from the outside, but you may find the owners are almost suicidal with the water and damp that pours into the building from badly sealed joints and panels installed by builders who THINK they know how to do it.
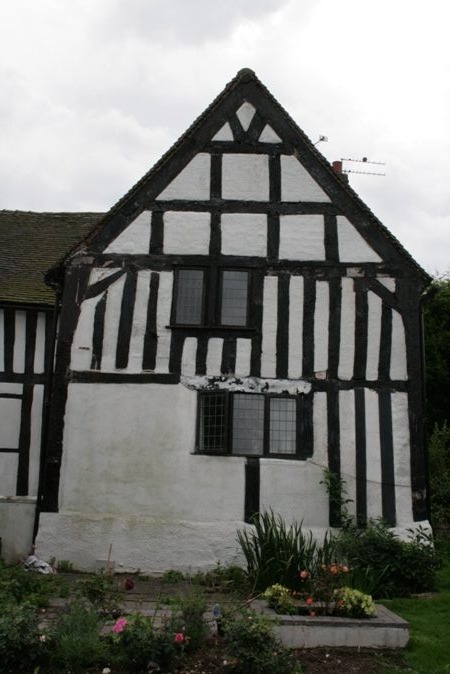
Here’s a typical ‘New’ frame – only replaced by local builders about 5 years ago, caulked with modern sealants, and what it looks like now – more rotten than some 400 year old ones! Notice its painted with gloss black – another no-no, which will only encourage rotting..